You know those desserts that look fancy but secretly take almost no effort? These Peaches and Cream Crumble Bars are exactly that kind of recipe. They are rich, creamy, fruity, buttery, and loaded with soft peach flavor in every bite.
Maybe you are tired of dry dessert bars that taste boring after one bite. Or maybe you want something easy that still feels special enough for family gatherings, summer parties, or late-night cravings.
That is why these crumble bars are so good.
The creamy filling stays smooth and soft. The peaches become sweet and juicy while baking. Then everything gets covered with a golden buttery crumble topping that tastes like something from a bakery.
Best of all, you do not need complicated baking skills or expensive ingredients.
Just simple ingredients, easy steps, and one dessert that people will keep talking about long after the pan is empty.
What Is This Recipe?
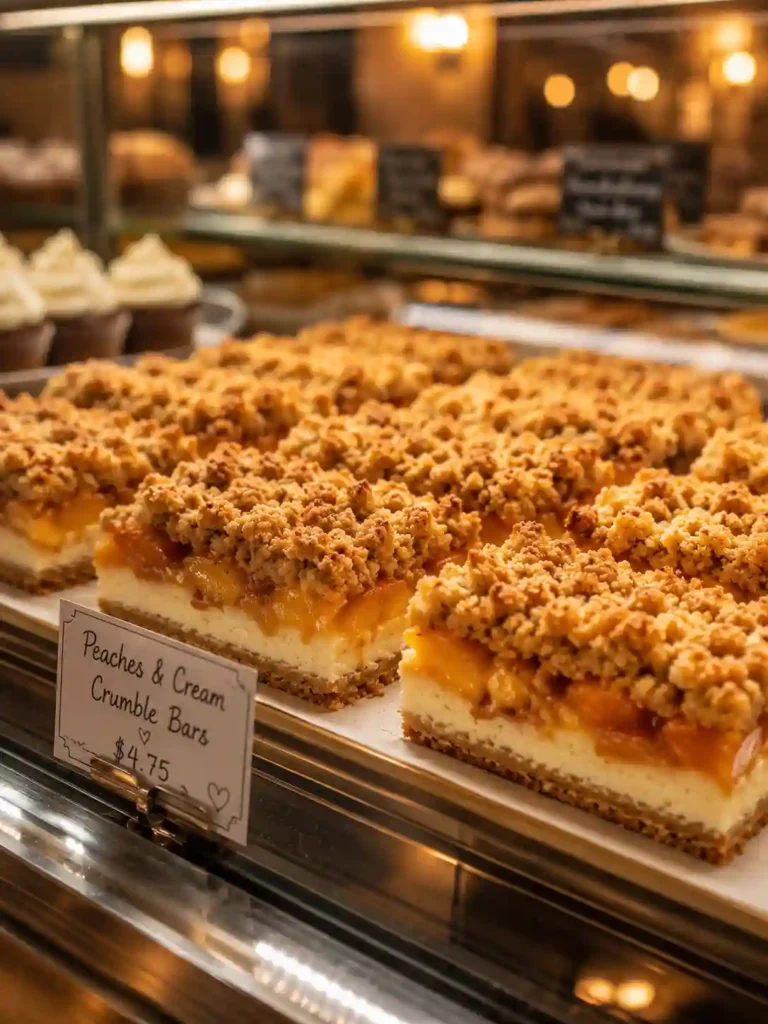
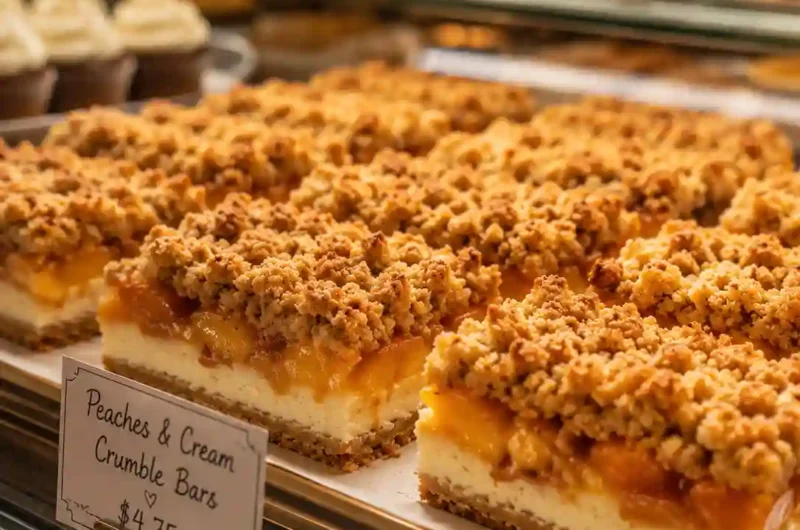
Peaches and Cream Crumble Bars are soft dessert bars made with three delicious layers. The bottom layer is a buttery crust. The middle layer is filled with creamy cheesecake-style filling and juicy peaches. The top layer is covered with a sweet golden crumble.
Think of them like peach pie mixed with cheesecake bars and buttery crumble topping all in one dessert.
What makes these bars special is the creamy texture. The soft cream filling balances perfectly with the juicy peaches and crumbly topping. Every bite tastes rich, smooth, fruity, and comforting.
These bars are perfect for summer desserts, bake sales, family parties, holidays, or whenever you want something sweet without making a complicated cake.
Why You Will Love This Recipe
- These bars are easy to make with simple pantry ingredients.
- The creamy filling makes every bite rich and smooth.
- You can use fresh, frozen, or canned peaches depending on what you have.
- The buttery crumble topping adds the perfect crispy texture.
- This recipe costs less than buying bakery desserts.
- They are easy to make ahead for parties and gatherings.
- The bars slice neatly and travel well for picnics or potlucks.
- Kids and adults both love the soft peaches and creamy filling.
- You can customize the recipe with different fruits and flavors.
- The bars taste amazing chilled or slightly warm.
Here’s where most people get this wrong…
Many people rush the cooling step and end up with messy bars that fall apart. The creamy layer needs time to fully set so the slices stay thick, smooth, and beautiful.
Ingredients
- 2 cups all-purpose flour – Helps create the buttery crust and crumble topping.
- 1 cup unsalted butter, melted – Melted butter gives the bars a rich soft texture.
- 3/4 cup brown sugar – Adds warm caramel flavor to the crumble.
- 1/4 cup granulated sugar – Sweetens the crust and balances the peaches.
- 1 teaspoon vanilla extract – Gives the dessert a cozy bakery-style flavor.
- 1/2 teaspoon salt – Helps balance the sweetness.
- 1 teaspoon baking powder – Keeps the crust from becoming too dense.
- 2 cups diced peaches – Fresh peaches give the best flavor, but canned peaches work too. Drain canned peaches well.
- 8 ounces cream cheese, softened – Creates the creamy middle layer.
- 1/3 cup sour cream – Makes the filling extra smooth and creamy.
- 1 egg – Helps the cream layer set properly while baking.
- 2 tablespoons cornstarch – Thickens the peach filling so the bars hold together.
- 1 teaspoon cinnamon – Adds warm comforting flavor.
- 1 tablespoon lemon juice – Brightens the peach flavor and balances sweetness.
Helpful tip: If your peaches are extra juicy, add one more teaspoon of cornstarch to keep the filling thick.
You can also replace peaches with nectarines, strawberries, blueberries, or cherries.
How To Make Peaches and Cream Crumble Bars
1. Prepare the Crust and Crumble Mixture
Preheat your oven to 350°F and line a square baking pan with parchment paper. This makes it much easier to lift the bars out later without sticking.
In a large bowl, mix together the flour, brown sugar, granulated sugar, salt, cinnamon, and baking powder. Slowly pour in the melted butter and vanilla extract.
Stir gently until the mixture becomes crumbly and soft. The texture should look buttery with small crumbles forming naturally.
Do not overmix the dough or it may become too heavy instead of light and crumbly.
Take about one-third of the mixture and save it for the topping. Press the remaining crumble mixture firmly into the bottom of the baking pan.
Use the back of a spoon or measuring cup to flatten the crust evenly.
The crust should look smooth and tightly packed.
This small trick makes a huge difference…
Pressing the crust firmly helps the bars stay together perfectly after slicing.
2. Make the Creamy Peach Filling
In a medium bowl, beat the softened cream cheese until smooth and creamy. Add the sour cream, egg, vanilla extract, and a little sugar.
Mix until the filling becomes silky and smooth without lumps.
In another bowl, toss the diced peaches with cornstarch, cinnamon, lemon juice, and sugar. The peaches should start looking glossy and juicy.
Spread the cream cheese mixture evenly over the crust layer. Use a spatula to smooth the top carefully into all corners.
Next, spoon the peach mixture over the cream layer evenly.
Do not dump all the peaches into one spot or the bars may bake unevenly.
The layers should look thick, creamy, colorful, and evenly spread before baking.
The soft cream layer will become rich and smooth while the peaches turn sweet and jammy in the oven.
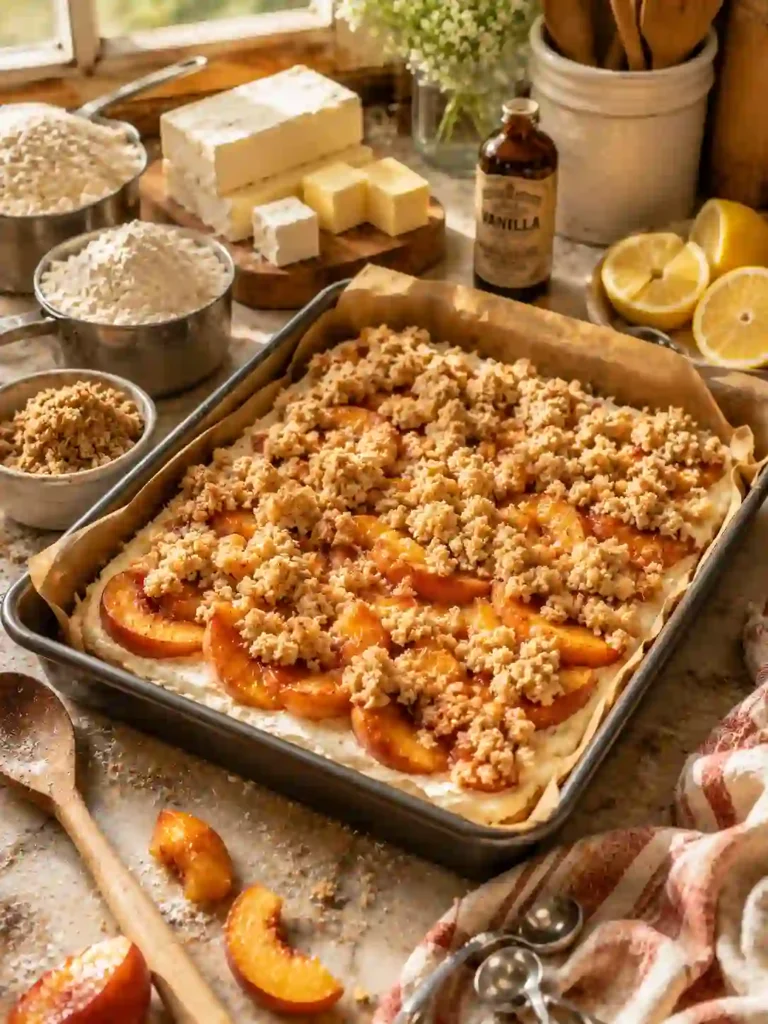
3. Add the Topping and Bake
Sprinkle the reserved crumble mixture evenly over the peach layer. Keep the topping loose and crumbly instead of pressing it down.
This helps create that golden bakery-style crumble texture everyone loves.
Place the pan into the oven and bake for about 40 to 45 minutes.
As the bars bake, the kitchen will smell warm, buttery, creamy, and sweet.
The topping should become golden brown while the peach filling bubbles slightly around the edges.
If the top browns too quickly, loosely cover the pan with foil during the final minutes.
After baking, let the bars cool completely at room temperature.
Then chill them in the refrigerator for at least one hour before slicing.
The bars should feel firm, creamy, soft, and perfectly set when ready.
Pro Tips
- Always soften the cream cheese before mixing so the filling becomes smooth instead of lumpy.
- Let the bars chill before slicing for cleaner bakery-style squares.
- Fresh ripe peaches give the sweetest flavor and best texture.
- Add a small pinch of nutmeg for deeper warm flavor.
- Use parchment paper with extra hanging edges for easy lifting.
- Do not overbake the bars or the cream layer may crack.
- A little coarse sugar on top adds beautiful sparkle and crunch.
- If using canned peaches, drain them very well to avoid watery filling.
- Chill the crumble mixture for 10 minutes before topping for crispier texture.
- Serve slightly warm with vanilla ice cream for extra creamy comfort.
Common Mistakes To Avoid
- Using cold cream cheese creates lumps in the filling.
- Overmixing the crumble mixture can make the topping dense.
- Skipping parchment paper makes lifting the bars difficult.
- Using overly juicy peaches can make the bars soggy.
- Forgetting cornstarch may leave the peach layer too watery.
- Overbaking dries out the creamy layer.
- Underbaking leaves the center too soft to slice properly.
- Cutting the bars before chilling causes messy slices.
- Pressing the topping too firmly removes the crumble texture.
- Uneven crust thickness can cause uneven baking.
- Adding too much fruit can make the bars collapse.
- Storing warm bars in a container creates moisture and softens the topping.
Variations and Customization Ideas
You can easily change these bars depending on your taste or dietary needs.
For a healthier version, reduce the sugar slightly and use Greek yogurt instead of sour cream.
For a high-protein version, add vanilla protein powder into the crumble mixture.
For a vegan version, use dairy-free cream cheese, vegan butter, and a flax egg.
Need a quicker version? Use canned peach pie filling instead of fresh peaches.
You can also try delicious flavor twists like:
- Peach blueberry cream bars
- Strawberry peach crumble bars
- Peach raspberry cheesecake bars
- Cinnamon peach almond bars
- Coconut peaches and cream bars
Now let’s make it even better…
Drizzle a simple vanilla glaze over the chilled bars for extra sweetness and bakery-style flavor.
Serving Ideas
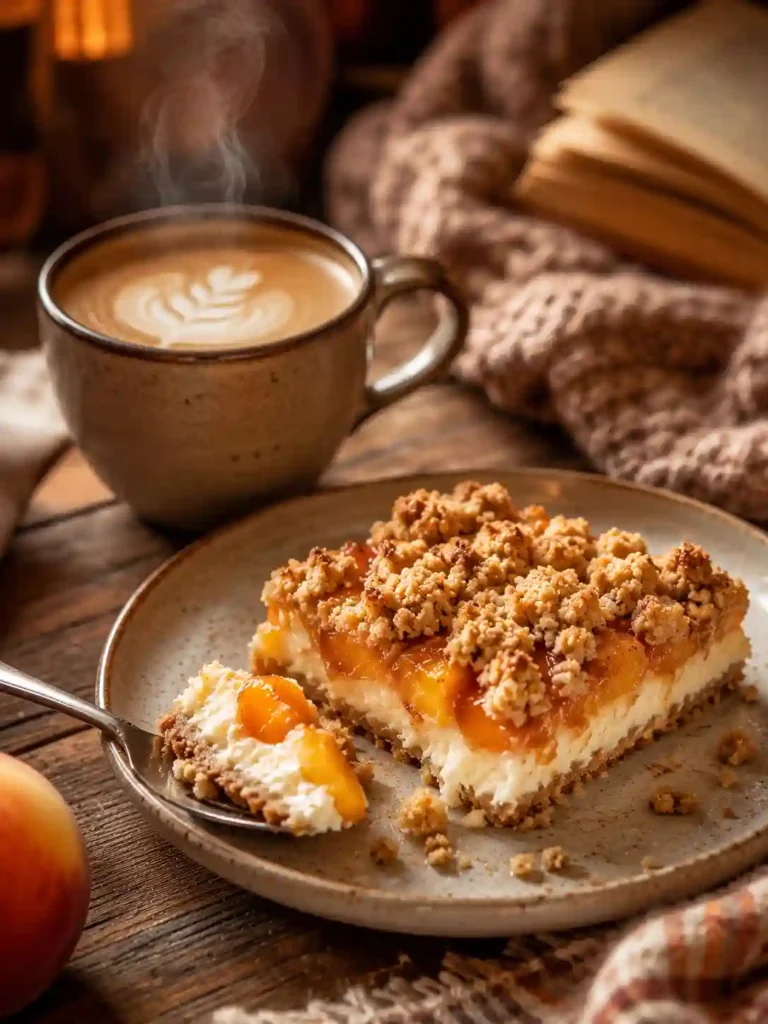
Serve these bars chilled on hot summer days for a cool creamy dessert.
Warm them slightly and top with vanilla ice cream for cozy comfort food.
Pack them into lunch boxes for sweet afternoon snacks.
Serve them at birthdays, summer cookouts, baby showers, picnics, or holiday dessert tables.
They also pair perfectly with coffee, tea, or cold milk.
Storage and Reheating
Store the bars in an airtight container in the refrigerator for up to 5 days.
For longer storage, freeze individual bars wrapped tightly for up to 2 months.
To reheat, microwave one bar for about 10 to 15 seconds.
If you want the crumble topping crisp again, warm the bars in the oven instead of the microwave.
Always let frozen bars thaw in the refrigerator overnight before serving.
Nutrition Facts
Approximate per serving:
- Calories: 340
- Carbohydrates: 39g
- Fat: 18g
- Protein: 4g
- Sugar: 23g
- Fiber: 2g
Quick Summary
- Soft buttery crumble bars
- Creamy cheesecake-style filling
- Juicy sweet peaches
- Crispy golden topping
- Beginner-friendly recipe
- Great for parties and summer desserts
- Easy to make ahead
- Delicious warm or chilled
When To Eat This
These Peaches and Cream Crumble Bars are perfect for almost every kind of craving.
Need a sweet afternoon snack during a busy day? Grab one straight from the fridge.
Want a cozy dessert after dinner? Warm one slightly and add ice cream.
Peaches and Cream Crumble Bars That Melt in Your Mouth
Course: bars4
servings30
minutes40
minutes300
kcalIngredients
2 cups all-purpose flour – Helps create the buttery crust and crumble topping.
1 cup unsalted butter, melted – Melted butter gives the bars a rich soft texture.
3/4 cup brown sugar – Adds warm caramel flavor to the crumble.
1/4 cup granulated sugar – Sweetens the crust and balances the peaches.
1 teaspoon vanilla extract – Gives the dessert a cozy bakery-style flavor.
1/2 teaspoon salt – Helps balance the sweetness.
1 teaspoon baking powder – Keeps the crust from becoming too dense.
2 cups diced peaches – Fresh peaches give the best flavor, but canned peaches work too. Drain canned peaches well.
8 ounces cream cheese, softened – Creates the creamy middle layer.
1/3 cup sour cream – Makes the filling extra smooth and creamy.
1 egg – Helps the cream layer set properly while baking.
2 tablespoons cornstarch – Thickens the peach filling so the bars hold together.
1 teaspoon cinnamon – Adds warm comforting flavor.
1 tablespoon lemon juice – Brightens the peach flavor and balances sweetness.
Directions
- Prepare the Crust and Crumble Mixture
Preheat your oven to 350°F and line a square baking pan with parchment paper. This makes it much easier to lift the bars out later without sticking.
In a large bowl, mix together the flour, brown sugar, granulated sugar, salt, cinnamon, and baking powder. Slowly pour in the melted butter and vanilla extract.
Stir gently until the mixture becomes crumbly and soft. The texture should look buttery with small crumbles forming naturally.
Do not overmix the dough or it may become too heavy instead of light and crumbly.
Take about one-third of the mixture and save it for the topping. Press the remaining crumble mixture firmly into the bottom of the baking pan.
Use the back of a spoon or measuring cup to flatten the crust evenly.
The crust should look smooth and tightly packed.
This small trick makes a huge difference…
Pressing the crust firmly helps the bars stay together perfectly after slicing. - Make the Creamy Peach Filling
In a medium bowl, beat the softened cream cheese until smooth and creamy. Add the sour cream, egg, vanilla extract, and a little sugar.
Mix until the filling becomes silky and smooth without lumps.
In another bowl, toss the diced peaches with cornstarch, cinnamon, lemon juice, and sugar. The peaches should start looking glossy and juicy.
Spread the cream cheese mixture evenly over the crust layer. Use a spatula to smooth the top carefully into all corners.
Next, spoon the peach mixture over the cream layer evenly.
Do not dump all the peaches into one spot or the bars may bake unevenly.
The layers should look thick, creamy, colorful, and evenly spread before baking.
The soft cream layer will become rich and smooth while the peaches turn sweet and jammy in the oven. - Add the Topping and Bake
Sprinkle the reserved crumble mixture evenly over the peach layer. Keep the topping loose and crumbly instead of pressing it down.
This helps create that golden bakery-style crumble texture everyone loves.
Place the pan into the oven and bake for about 40 to 45 minutes.
As the bars bake, the kitchen will smell warm, buttery, creamy, and sweet.
The topping should become golden brown while the peach filling bubbles slightly around the edges.
If the top browns too quickly, loosely cover the pan with foil during the final minutes.
After baking, let the bars cool completely at room temperature.
Then chill them in the refrigerator for at least one hour before slicing.
The bars should feel firm, creamy, soft, and perfectly set when ready.
Notes
- Always soften the cream cheese before mixing so the filling becomes smooth instead of lumpy.
- Let the bars chill before slicing for cleaner bakery-style squares.