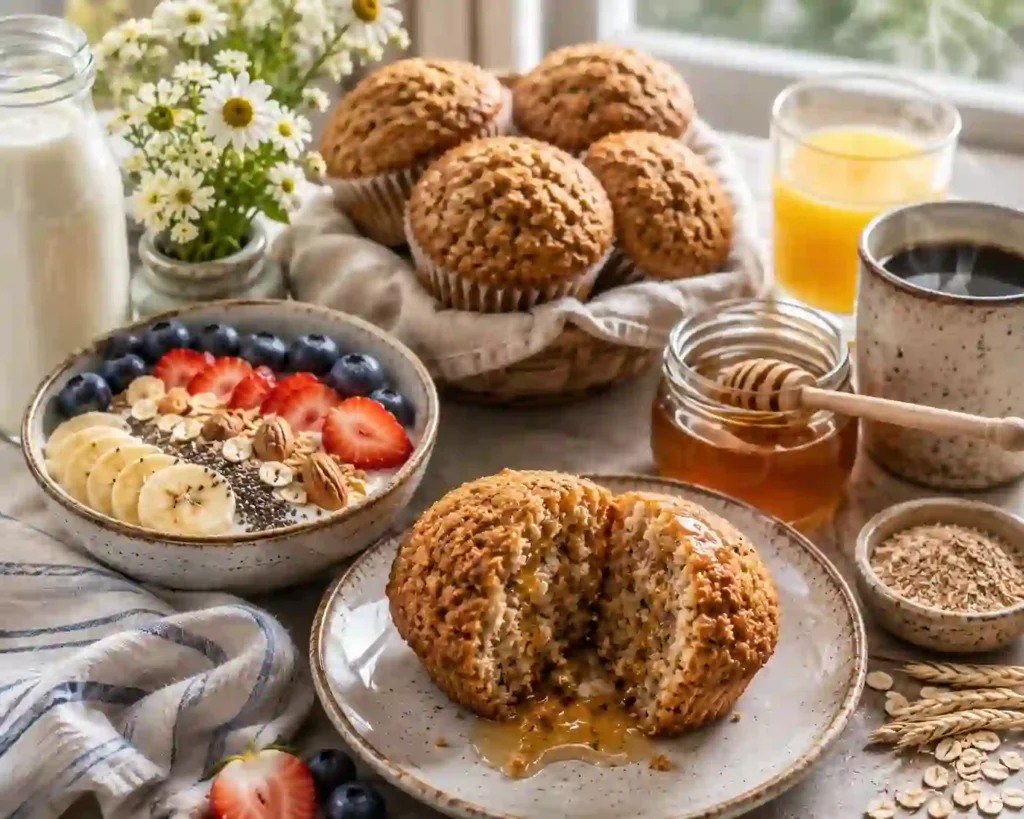
You know those mornings when you’re already running late, but you still want something filling that doesn’t come from a drive-thru? It happens to all of us. Most quick breakfast options are loaded with sugar, leave you hungry an hour later, or simply don’t taste very good. The good news is that you don’t have to choose between healthy and delicious anymore.
These honey bran muffins are soft, moist, lightly sweet, and incredibly satisfying. They come together with simple pantry ingredients, making them perfect for busy weekdays or relaxed weekend baking. Every bite is full of wholesome bran, warm honey flavor, and a tender texture that feels like comfort food while still being a smart breakfast choice.
The best part?
They stay fresh for days, freeze beautifully, and make breakfast one less thing to worry about. Once you bake a batch, you’ll understand why so many families keep these muffins on repeat.
Let’s make breakfast easier—and much tastier.
What Is This Recipe?
Honey bran muffins are wholesome breakfast muffins made with bran cereal or wheat bran, flour, honey, eggs, milk, and a few simple baking ingredients. Instead of relying on lots of refined sugar, this recipe uses honey to add natural sweetness and a rich, comforting flavor.
Bran gives the muffins extra fiber while keeping every bite hearty and satisfying. The result is a muffin that feels light and fluffy inside with a beautifully golden top outside.
Unlike many bakery muffins that can be overly sweet or heavy, these homemade muffins strike the perfect balance. They’re sweet enough to enjoy with coffee or tea, yet healthy enough to become part of your everyday breakfast routine.
Whether you’re baking for yourself, your kids, or the whole family, these muffins are a simple way to start the day feeling full and energized.
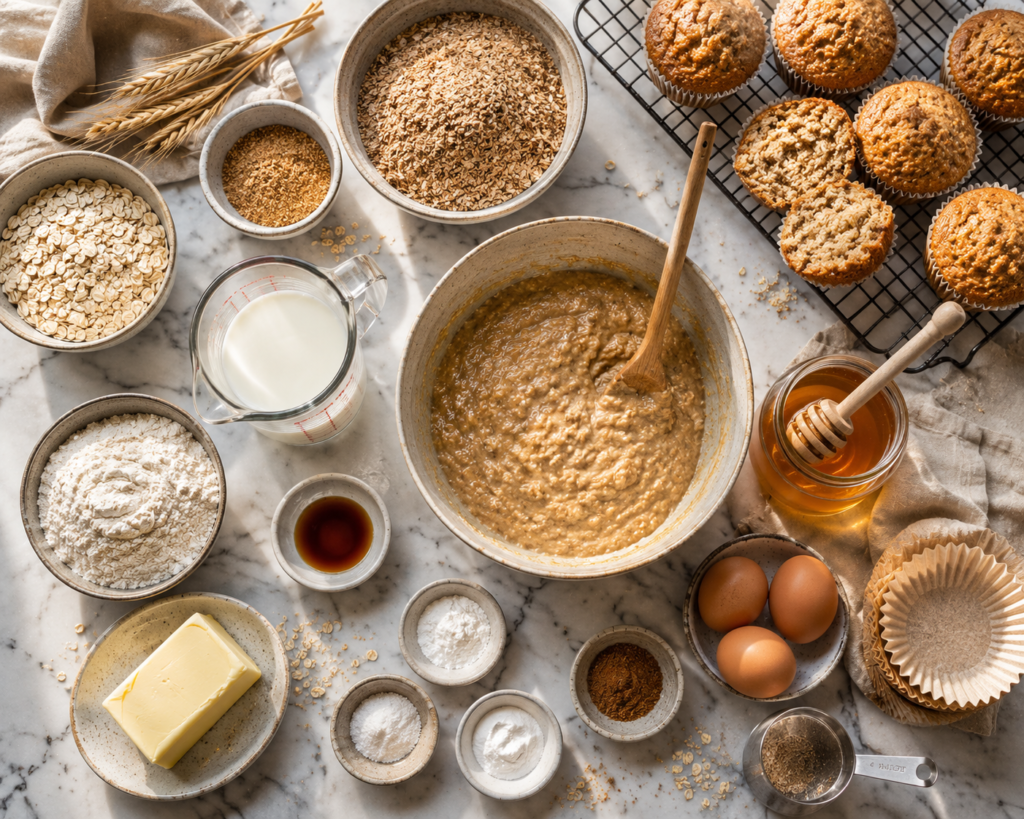
Why You Will Love This Recipe
- Ready with simple ingredients that you probably already have at home.
- Perfect for meal prep because they stay soft for several days.
- Naturally sweetened with honey, giving a rich flavor without excessive sugar.
- High in fiber, helping you stay satisfied longer.
- Budget-friendly and much cheaper than buying bakery muffins.
- Easy for beginners with simple steps that anyone can follow.
- Kid-approved because they’re soft, tender, and mildly sweet.
- Easy to customize with fruit, nuts, seeds, or spices.
- Great for freezing, making breakfast ready whenever you need it.
Here’s where most people get this wrong…
They rush the batter and skip letting the bran soak. That tiny step changes everything and creates incredibly soft, moist muffins.
Ingredients
Every ingredient plays an important role in making these muffins soft, flavorful, and satisfying.
- 1½ cups wheat bran or bran cereal – This is the star ingredient. It adds fiber, texture, and a delicious nutty flavor. If using bran cereal, lightly crush larger flakes before mixing.
- 1 cup whole milk – Softens the bran and creates a tender crumb. You can substitute almond milk, oat milk, or low-fat milk if preferred.
- ⅓ cup honey – Adds natural sweetness and keeps the muffins moist for several days. Dark honey gives a richer flavor, while lighter honey creates a milder taste.
- ¼ cup melted butter – Adds richness and keeps every bite soft. Coconut oil or vegetable oil also works well.
- 1 large egg – Helps bind everything together while creating a fluffy texture.
- 1 teaspoon vanilla extract – Brings warmth and enhances the honey flavor.
- 1 cup all-purpose flour – Provides structure while keeping the muffins light.
- 1 teaspoon baking powder – Helps the muffins rise beautifully.
- ½ teaspoon baking soda – Works with the honey for extra lift.
- ½ teaspoon salt – Balances sweetness and enhances every flavor.
- 1 teaspoon ground cinnamon (optional) – Adds cozy warmth that’s perfect for breakfast.
If you’d like extra texture, stir in chopped walnuts, raisins, sunflower seeds, or dried cranberries just before baking.
How to Make (Step-by-Step)
1. Prepare the bran mixture
Start by combining the bran and milk in a large mixing bowl. Stir well until every bit of bran is coated with milk. Let the mixture sit quietly for about 10 minutes. During this time, the bran absorbs the liquid and becomes soft instead of dry or grainy. This simple waiting period is one of the biggest secrets to bakery-style muffins. While the bran soaks, preheat your oven to 375°F (190°C) and line a muffin pan with paper liners or lightly grease each cup. The soaked mixture should look thick, creamy, and evenly hydrated before moving to the next step.
2. Mix the wet ingredients
Add the honey, melted butter, egg, and vanilla extract directly into the softened bran mixture. Stir gently until everything is smooth and well combined. The batter should look glossy with a rich golden color from the honey. Avoid whipping too much air into the mixture because gentle mixing creates softer muffins. If your honey is thick, warm it for a few seconds before adding it. Everything should blend together into one smooth mixture without streaks of egg or butter.
3. Add the dry ingredients
In another bowl, whisk together the flour, baking powder, baking soda, salt, and cinnamon. Slowly fold the dry ingredients into the wet mixture using a spatula or wooden spoon. Stir only until the flour disappears. The batter should stay thick with a few tiny lumps. That is exactly what you want. Overmixing develops too much gluten and creates dense muffins instead of soft, fluffy ones. If you’re adding raisins or chopped nuts, gently fold them in now.
4. Fill and bake
Spoon the batter into the prepared muffin cups, filling each about three-quarters full. This gives the muffins enough room to rise into beautiful rounded tops. Bake for 18–22 minutes or until the tops are golden brown and a toothpick inserted into the center comes out clean. Your kitchen will fill with the warm aroma of honey and cinnamon. Allow the muffins to cool in the pan for five minutes before transferring them to a cooling rack. They taste wonderful warm with a little butter or an extra drizzle of honey.
This small trick makes a huge difference…
Let the muffins cool for about 10 minutes before eating. The inside finishes setting, making them even softer and more flavorful.
Pro Tips
- Always soak the bran before mixing the batter. This keeps every muffin moist instead of dry.
- Measure flour with a spoon and level it off instead of scooping directly from the bag.
- Use room-temperature eggs and milk for smoother mixing.
- Warm the honey slightly if it’s very thick so it blends evenly.
- Mix the batter gently until just combined to keep the muffins fluffy.
- Fill each muffin cup evenly so they bake at the same speed.
- Sprinkle a few oats on top before baking for extra texture.
- Check for doneness a minute early because every oven bakes differently.
- Cool muffins on a wire rack to prevent soggy bottoms.
- Freeze extras immediately after cooling so they stay fresh for future breakfasts.
Common Mistakes to Avoid
- Skipping the bran soaking time.
- Overmixing the batter.
- Using too much flour.
- Filling muffin cups completely full.
- Baking at the wrong temperature.
- Opening the oven too early.
- Using expired baking powder.
- Forgetting to grease the pan.
- Overbaking the muffins.
- Not cooling before storing.
- Storing while still warm.
- Adding too many mix-ins, making the batter heavy.
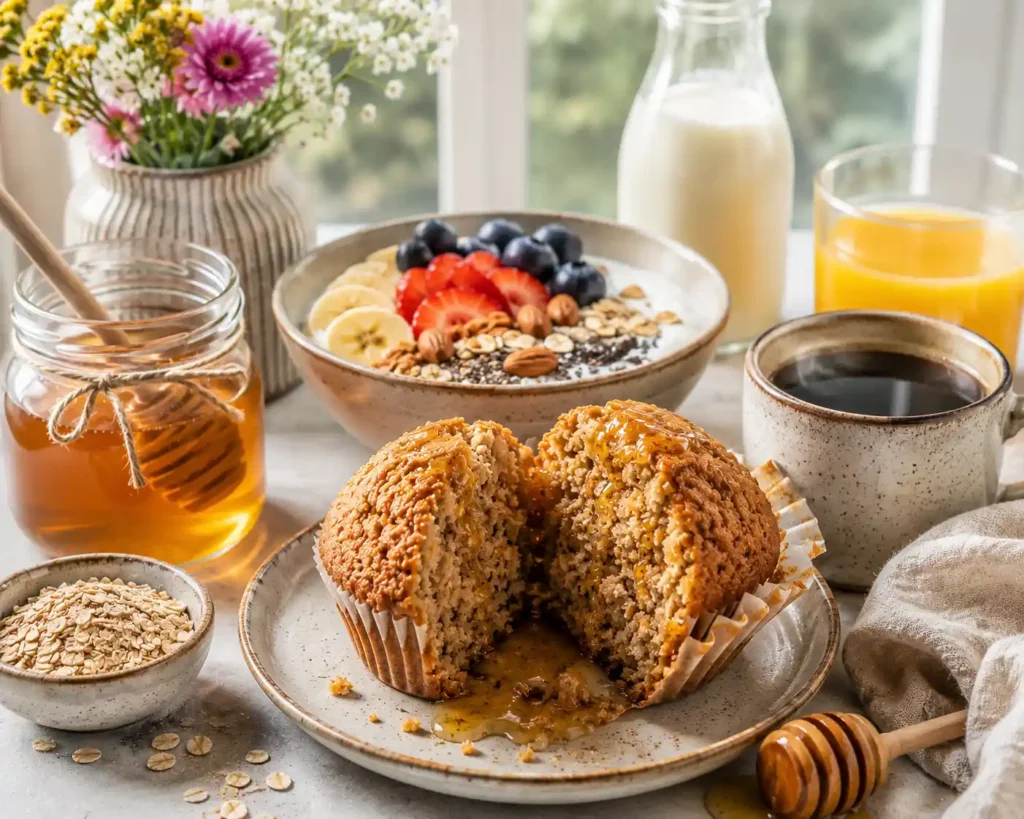
Variations & Customization Ideas
Want to make these even better? Here are some delicious ideas.
- High-Protein Version: Add one scoop of vanilla protein powder and a few extra tablespoons of milk.
- Vegan Version: Replace the egg with a flax egg, use plant-based milk, and substitute coconut oil for butter.
- Apple Cinnamon: Fold in diced apples and extra cinnamon.
- Blueberry Honey: Add fresh or frozen blueberries.
- Nut Lover’s Version: Mix in chopped walnuts or pecans.
- Seed Power: Add chia seeds, flaxseed, or sunflower seeds.
- Chocolate Treat: Stir in a handful of dark chocolate chips.
- Orange Honey: Add orange zest for a fresh citrus flavor.
Now let’s make it even better…
Serve these warm with your favorite toppings and you’ll never look at plain breakfast muffins the same way again.
Serving Ideas
- Spread with butter while still warm.
- Drizzle extra honey over the top.
- Serve with Greek yogurt and berries.
- Enjoy alongside scrambled eggs.
- Pair with fresh fruit.
- Eat with peanut butter or almond butter.
- Pack in lunchboxes.
- Serve with coffee, tea, or milk.
- Crumble over yogurt for a quick breakfast bowl.
Storage & Reheating
Store cooled muffins in an airtight container at room temperature for up to 3 days. For longer storage, refrigerate them for 1 week.
Freeze individually wrapped muffins for up to 3 months. Thaw overnight or microwave for about 20–30 seconds. For a freshly baked taste, warm them in a 300°F oven for 5–7 minutes.
Nutrition Facts (Approximate Per Muffin)
- Calories: 180
- Protein: 5g
- Carbohydrates: 28g
- Fiber: 5g
- Fat: 6g
- Sugar: 10g
- Sodium: 180mg
Quick Summary
- ✔ Soft and moist honey bran muffins
- ✔ Naturally sweetened with honey
- ✔ Rich in fiber
- ✔ Easy beginner recipe
- ✔ Great for meal prep
- ✔ Freezer friendly
- ✔ Ready in about 35 minutes
- ✔ Perfect for breakfast or snacks
When to Eat This
These honey bran muffins fit almost every part of your day. Grab one during a busy morning when breakfast needs to be quick but filling. Enjoy one after a workout to help refuel with wholesome carbohydrates and fiber. Pack them into lunchboxes for school or work, or keep one nearby when afternoon snack cravings hit. They’re also a comforting late-night bite with a warm cup of tea when you want something satisfying without reaching for overly sweet desserts. Once you have a batch ready, you’ll always have a healthy homemade option waiting for you.
The Best Honey Bran Muffin Recipe for a Healthy Breakfast You’ll Want Every Week
Course: Muffins4
servings30
minutes40
minutes300
kcalIngredients
1½ cups wheat bran or bran cereal – This is the star ingredient. It adds fiber, texture, and a delicious nutty flavor. If using bran cereal, lightly crush larger flakes before mixing.
1 cup whole milk – Softens the bran and creates a tender crumb. You can substitute almond milk, oat milk, or low-fat milk if preferred.
⅓ cup honey – Adds natural sweetness and keeps the muffins moist for several days. Dark honey gives a richer flavor, while lighter honey creates a milder taste.
¼ cup melted butter – Adds richness and keeps every bite soft. Coconut oil or vegetable oil also works well.
1 large egg – Helps bind everything together while creating a fluffy texture.
1 teaspoon vanilla extract – Brings warmth and enhances the honey flavor.
1 cup all-purpose flour – Provides structure while keeping the muffins light.
1 teaspoon baking powder – Helps the muffins rise beautifully.
½ teaspoon baking soda – Works with the honey for extra lift.
½ teaspoon salt – Balances sweetness and enhances every flavor.
1 teaspoon ground cinnamon (optional) – Adds cozy warmth that’s perfect for breakfast.
Directions
- Prepare the bran mixture
Start by combining the bran and milk in a large mixing bowl. Stir well until every bit of bran is coated with milk. Let the mixture sit quietly for about 10 minutes. During this time, the bran absorbs the liquid and becomes soft instead of dry or grainy. This simple waiting period is one of the biggest secrets to bakery-style muffins. While the bran soaks, preheat your oven to 375°F (190°C) and line a muffin pan with paper liners or lightly grease each cup. The soaked mixture should look thick, creamy, and evenly hydrated before moving to the next step. - Mix the wet ingredients
Add the honey, melted butter, egg, and vanilla extract directly into the softened bran mixture. Stir gently until everything is smooth and well combined. The batter should look glossy with a rich golden color from the honey. Avoid whipping too much air into the mixture because gentle mixing creates softer muffins. If your honey is thick, warm it for a few seconds before adding it. Everything should blend together into one smooth mixture without streaks of egg or butter. - Add the dry ingredients
In another bowl, whisk together the flour, baking powder, baking soda, salt, and cinnamon. Slowly fold the dry ingredients into the wet mixture using a spatula or wooden spoon. Stir only until the flour disappears. The batter should stay thick with a few tiny lumps. That is exactly what you want. Overmixing develops too much gluten and creates dense muffins instead of soft, fluffy ones. If you’re adding raisins or chopped nuts, gently fold them in now. - Fill and bake
Spoon the batter into the prepared muffin cups, filling each about three-quarters full. This gives the muffins enough room to rise into beautiful rounded tops. Bake for 18–22 minutes or until the tops are golden brown and a toothpick inserted into the center comes out clean. Your kitchen will fill with the warm aroma of honey and cinnamon. Allow the muffins to cool in the pan for five minutes before transferring them to a cooling rack. They taste wonderful warm with a little butter or an extra drizzle of honey.
Notes
- Always soak the bran before mixing the batter. This keeps every muffin moist instead of dry.
- Measure flour with a spoon and level it off instead of scooping directly from the bag.
About