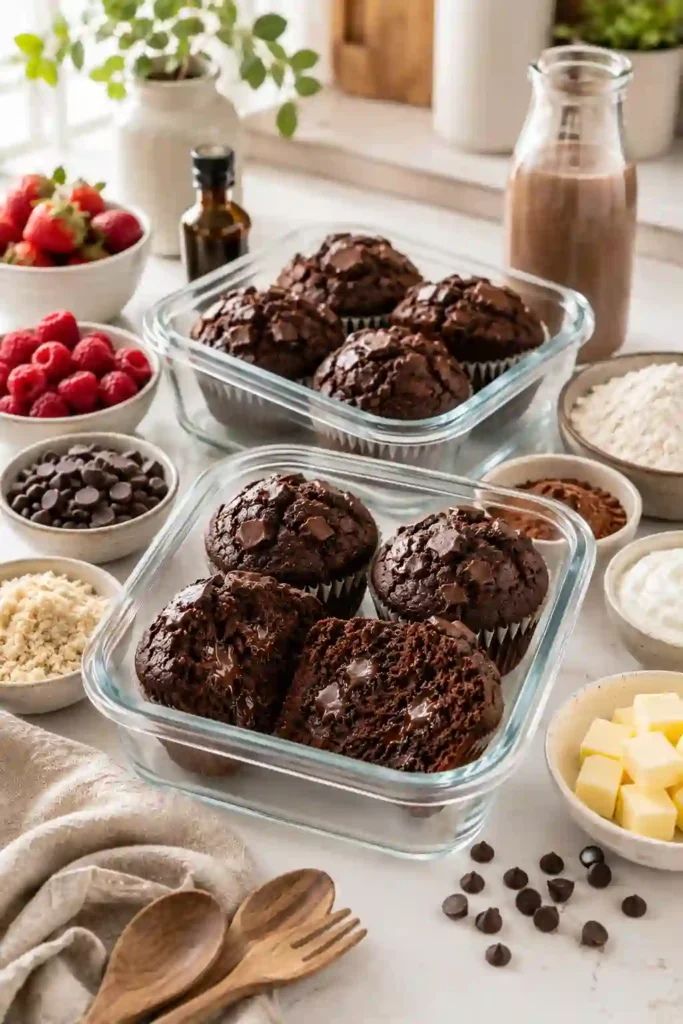
Have you ever wanted a rich, chocolatey muffin but worried it would turn out dry because it’s gluten free? You’re not alone. Many gluten free baked treats can feel crumbly, bland, or simply disappointing. The good news is that you don’t have to settle for muffins that taste “just okay.”
This easy gluten free chocolate muffin recipe gives you everything you love about bakery-style muffins without the gluten. Every bite is soft, moist, fluffy, and packed with deep chocolate flavor. Best of all, you don’t need fancy baking skills or hard-to-find ingredients.
Whether you’re baking for your family, preparing school snacks, or simply treating yourself after a long day, these muffins come together quickly and taste amazing fresh from the oven. Once you try them, you’ll want to keep this recipe in your kitchen forever.
What Is This Recipe?
A gluten free chocolate muffin is a classic chocolate muffin made without wheat flour. Instead, it uses a gluten free flour blend that creates a soft and tender texture while keeping the muffins light and delicious.
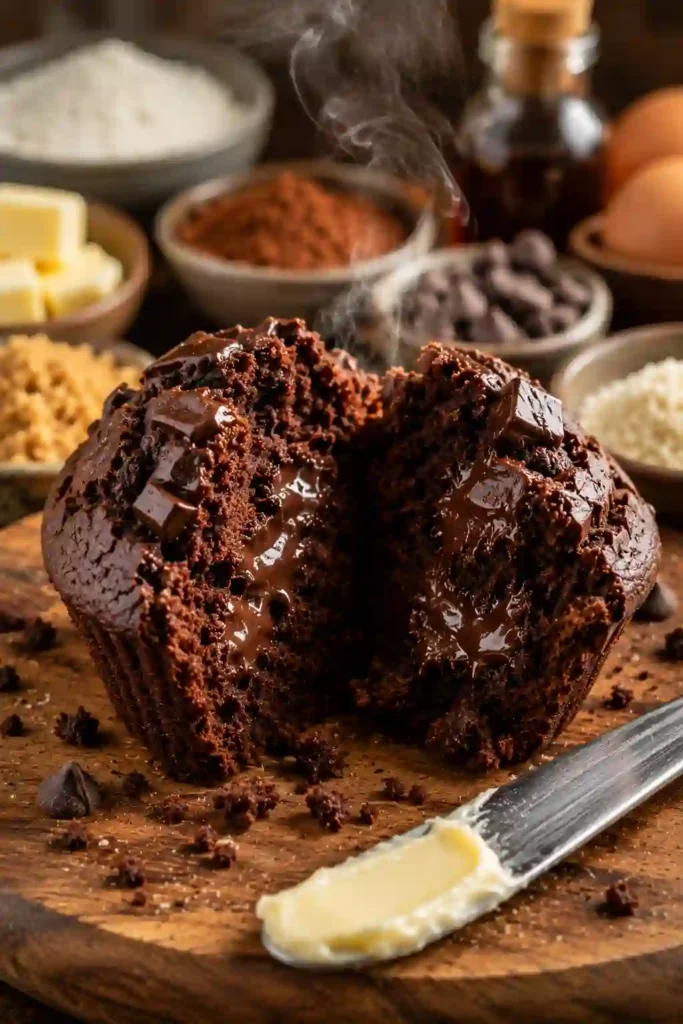
What makes this recipe special is how easy it is to prepare. You simply mix a few everyday ingredients, pour the batter into a muffin pan, and bake. The result is rich chocolate muffins with fluffy centers, slightly crisp tops, and melted chocolate chips in every bite.
Even people who don’t eat gluten free often can’t tell the difference.
Why You’ll Love This Recipe
- Ready in about 35 minutes from start to finish.
- Soft, moist texture that stays fresh for days.
- Rich chocolate flavor without being overly sweet.
- Beginner-friendly recipe with simple ingredients.
- Perfect for breakfast, dessert, or lunchboxes.
- Naturally gluten free without sacrificing taste.
- Easy to freeze for quick snacks later.
- Budget-friendly and cheaper than bakery muffins.
- Easy to customize with nuts, berries, or extra chocolate.
- Family-approved for both kids and adults.
Here’s where most people get this wrong…
Many people think adding more flour makes muffins better. It actually makes them dry. A smooth, slightly thick batter creates soft bakery-style muffins.
Ingredients
You’ll need:
- 2 cups gluten free all-purpose flour blend (with xanthan gum if possible)
- ½ cup unsweetened cocoa powder
- 2 teaspoons baking powder
- ½ teaspoon baking soda
- ¼ teaspoon salt
- ¾ cup granulated sugar
- 2 large eggs, room temperature
- ½ cup vegetable oil or melted butter
- ¾ cup milk (or almond milk)
- 1 teaspoon vanilla extract
- ¾ cup chocolate chips, plus extra for topping
Choose a quality gluten free flour blend because every blend bakes a little differently. If yours does not contain xanthan gum, add about ½ teaspoon for better texture.
Unsweetened cocoa powder gives deep chocolate flavor, while chocolate chips add little pockets of melted chocolate throughout each muffin.
Room-temperature eggs mix more evenly and help the batter rise better. Vegetable oil creates extra moist muffins, but melted butter adds a richer flavor if you prefer.
You can easily swap regular milk for almond, oat, or lactose-free milk. Dark chocolate chips make the muffins less sweet, while milk chocolate chips create a richer dessert-like flavor.
How to Make
1. Prepare Everything
Preheat your oven to 375°F (190°C) and line a 12-cup muffin pan with paper liners. Mix the gluten free flour, cocoa powder, baking powder, baking soda, and salt in a large bowl until evenly combined. In another bowl, whisk together the eggs, sugar, oil, milk, and vanilla until smooth. Slowly combine the wet and dry ingredients using a spatula. Stir gently until no dry flour remains. Fold in most of the chocolate chips, saving a handful for the tops. The batter should look thick, smooth, and glossy. Avoid overmixing because gluten free batter can become dense if stirred too much.
2. Fill and Bake
Divide the batter evenly between the muffin cups, filling each about three-quarters full. Sprinkle the remaining chocolate chips over the tops. This creates beautiful bakery-style muffins with melted chocolate on top. Bake for 20–24 minutes until the tops rise nicely and a toothpick inserted near the edge comes out with only a few moist crumbs. The muffins should have a slightly domed top and smell wonderfully chocolaty throughout your kitchen.
3. Cool the Right Way
Let the muffins cool in the pan for about 5 minutes. Then carefully transfer them to a cooling rack. This prevents the bottoms from becoming soggy from trapped steam. The muffins continue cooking slightly as they cool, giving them an even softer center. Enjoy them warm for gooey chocolate chips or let them cool completely for easier storage.
This small trick makes a huge difference…
Let the batter rest for 10 minutes before baking. Gluten free flour absorbs moisture during this time, creating softer muffins with a better texture.
Pro Tips
- Measure flour using a spoon instead of scooping directly from the bag.
- Use room-temperature ingredients for smoother batter.
- Rest the batter for 10 minutes before baking.
- Don’t overmix once the flour is added.
- Add extra chocolate chips on top before baking.
- Check muffins two minutes early to avoid overbaking.
- Cool on a wire rack for the best texture.
- Use high-quality cocoa powder for deeper flavor.
- Store completely cooled muffins to prevent moisture buildup.
- Freeze extras individually for quick homemade treats.
Common Mistakes to Avoid
- Overmixing the batter makes muffins heavy.
- Using cold eggs creates uneven mixing.
- Adding too much flour results in dry muffins.
- Overbaking removes moisture.
- Skipping muffin liners may cause sticking.
- Forgetting baking powder reduces rise.
- Filling cups too full causes overflowing.
- Opening the oven too early can make muffins sink.
- Using expired baking powder prevents proper rising.
- Storing warm muffins in containers creates condensation.
- Skipping the cooling rack makes bottoms soggy.
- Not measuring ingredients accurately changes texture.
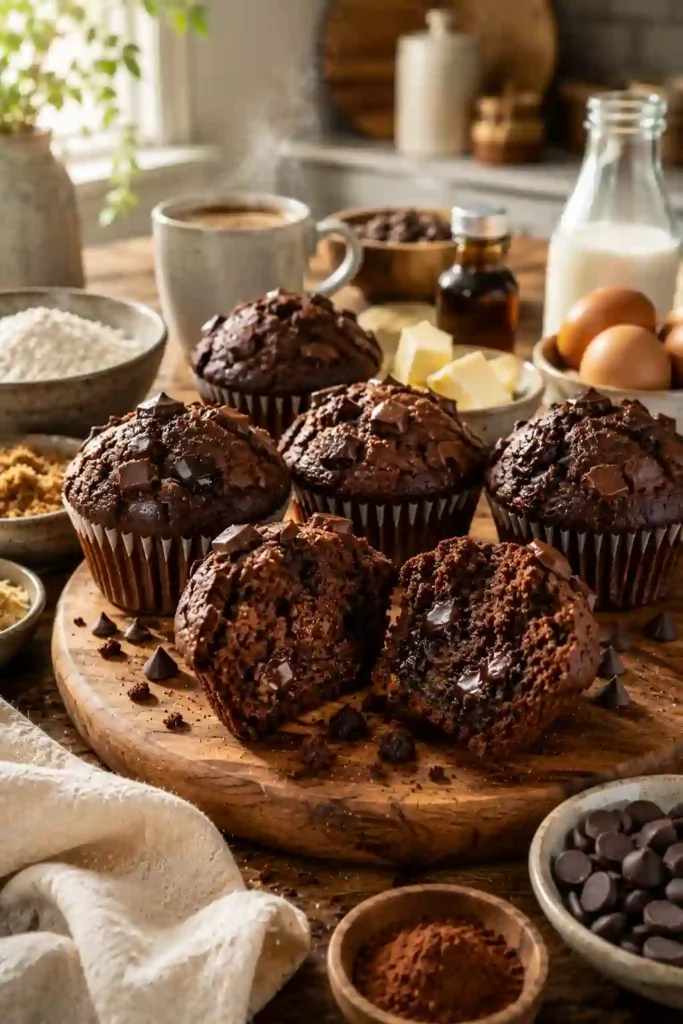
Variations & Customization Ideas
Now let’s make it even better…
- High Protein: Add one scoop of chocolate protein powder and slightly increase the milk.
- Vegan: Replace eggs with flax eggs and use dairy-free milk.
- Extra Chocolate: Stir in white chocolate chips.
- Nut Lovers: Add chopped walnuts or pecans.
- Peanut Butter: Swirl peanut butter into the batter.
- Double Chocolate: Mix in chocolate chunks.
- Berry Twist: Add fresh raspberries.
- Coffee Flavor: Mix in one teaspoon of instant espresso powder.
- Mini Muffins: Bake for about 12–14 minutes.
- Orange Chocolate: Add orange zest for a fresh flavor.
Serving Ideas
These muffins taste amazing while still warm with a glass of cold milk.
Serve them with coffee for breakfast, pack them into lunchboxes, enjoy them after dinner with vanilla ice cream, or warm one for an afternoon snack. They’re also perfect for birthday parties, picnics, road trips, bake sales, and holiday gatherings.
Storage & Reheating
Store the muffins in an airtight container at room temperature for up to 3 days.
Refrigerate for up to 1 week if your kitchen is warm.
Freeze individually for up to 3 months.
To reheat, microwave for 15–20 seconds or warm in a 300°F oven for about 5 minutes.
Nutrition Facts (Approximate Per Muffin)
- Calories: 260
- Protein: 4g
- Carbohydrates: 34g
- Fat: 12g
- Fiber: 3g
- Sugar: 18g
- Sodium: 180mg
Quick Summary
- ✔ Easy beginner-friendly recipe
- ✔ Gluten free and incredibly moist
- ✔ Rich chocolate flavor
- ✔ Ready in about 35 minutes
- ✔ Freezer-friendly
- ✔ Perfect for breakfast or dessert
- ✔ Kid-approved
- ✔ Great for meal prep
When to Eat This
These gluten free chocolate muffins fit into almost any part of your day. Grab one on a busy morning when you need breakfast in a hurry. Enjoy one after a workout for a satisfying treat, especially if you make the high-protein version. Pack them into school or work lunches for an easy homemade snack. They’re also perfect when those afternoon chocolate cravings hit or when you want a comforting dessert after dinner. Even late at night, a warm chocolate muffin with a glass of milk feels like the perfect little reward after a long day. Once you make a batch, you’ll always be happy to have one waiting for you.
Easy Gluten Free Chocolate Muffin Recipe That Tastes Better Than Bakery Muffins
Course: Muffins4
servings30
minutes40
minutes300
kcalIngredients
2 cups gluten free all-purpose flour blend (with xanthan gum if possible)
½ cup unsweetened cocoa powder
2 teaspoons baking powder
½ teaspoon baking soda
¼ teaspoon salt
¾ cup granulated sugar
2 large eggs, room temperature
½ cup vegetable oil or melted butter
¾ cup milk (or almond milk)
1 teaspoon vanilla extract
¾ cup chocolate chips, plus extra for topping
Directions
- Prepare Everything
Preheat your oven to 375°F (190°C) and line a 12-cup muffin pan with paper liners. Mix the gluten free flour, cocoa powder, baking powder, baking soda, and salt in a large bowl until evenly combined. In another bowl, whisk together the eggs, sugar, oil, milk, and vanilla until smooth. Slowly combine the wet and dry ingredients using a spatula. Stir gently until no dry flour remains. Fold in most of the chocolate chips, saving a handful for the tops. The batter should look thick, smooth, and glossy. Avoid overmixing because gluten free batter can become dense if stirred too much. - Fill and Bake
Divide the batter evenly between the muffin cups, filling each about three-quarters full. Sprinkle the remaining chocolate chips over the tops. This creates beautiful bakery-style muffins with melted chocolate on top. Bake for 20–24 minutes until the tops rise nicely and a toothpick inserted near the edge comes out with only a few moist crumbs. The muffins should have a slightly domed top and smell wonderfully chocolaty throughout your kitchen - Cool the Right Way
Let the muffins cool in the pan for about 5 minutes. Then carefully transfer them to a cooling rack. This prevents the bottoms from becoming soggy from trapped steam. The muffins continue cooking slightly as they cool, giving them an even softer center. Enjoy them warm for gooey chocolate chips or let them cool completely for easier storage.
Notes
- Measure flour using a spoon instead of scooping directly from the bag.
- Use room-temperature ingredients for smoother batter.
About