You know that moment when you want a warm, sweet dessert… but you don’t want to make a full big cake?
Or maybe you tried baking before and it turned out messy or too dry.
It feels frustrating when you just want something simple and cute.
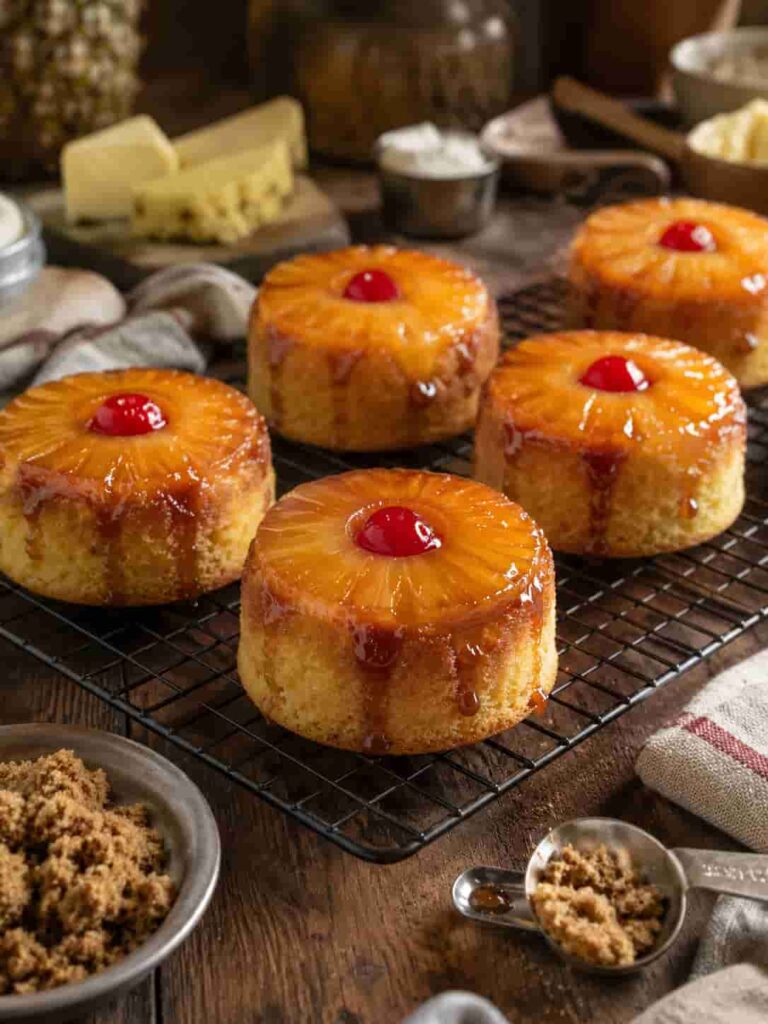
That’s why these mini pineapple upside down cakes are perfect for you.
They are soft, buttery, and topped with golden caramel pineapple.
Each one is baked in its own little portion, so no slicing stress.
They look fancy, but they are actually very easy to make.
One bite and you get soft cake + sweet pineapple + caramel glaze together.
WHAT IS THIS RECIPE?
This recipe is a mini version of the classic pineapple upside down cake.
Instead of one big cake, you make small individual cakes.
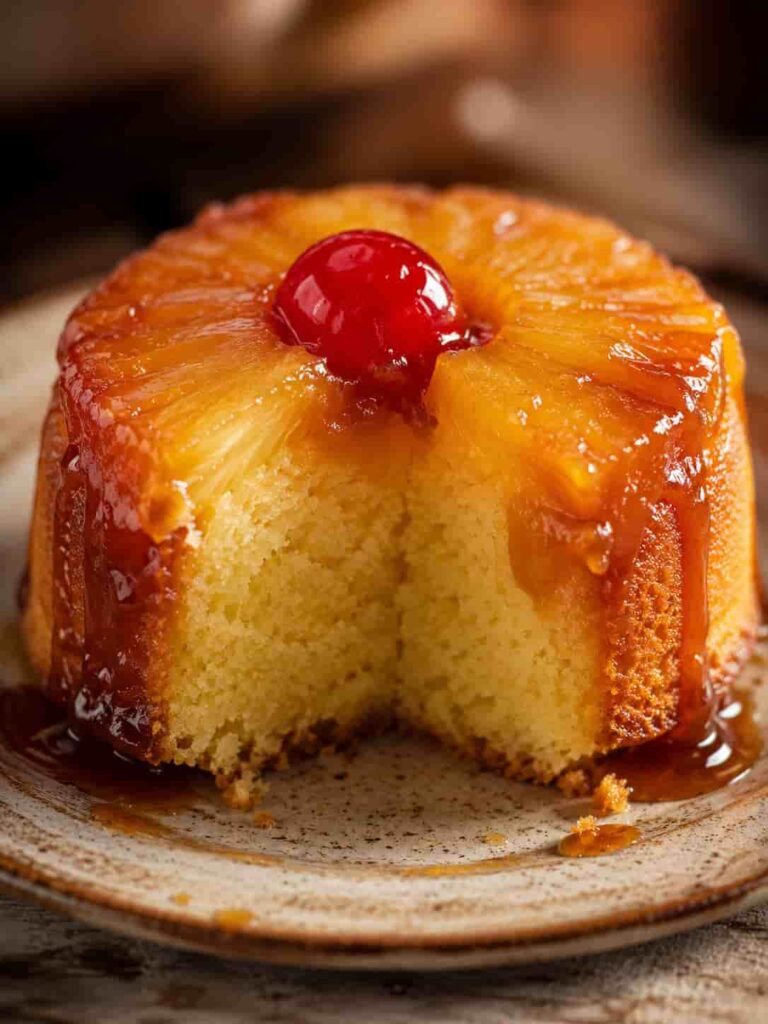
Each one has caramel, pineapple, and soft vanilla cake layers.
When you flip them, the pineapple sits beautifully on top.
They taste sweet, fruity, and slightly buttery.
Perfect for parties, snacks, or quick desserts.
WHY YOU WILL LOVE THIS RECIPE
- Quick to make in small portions
- No need for fancy baking skills
- Sweet caramel pineapple flavor in every bite
- Perfect for serving guests or family
- Budget-friendly ingredients
- Cute and Instagram-worthy presentation
Here’s where most people get this wrong… they don’t prepare the caramel properly and the topping becomes sticky instead of smooth.
INGREDIENTS
- 1 cup all-purpose flour – Creates soft cake texture. Sift for better results.
- 1/2 cup sugar – Adds sweetness and helps caramel flavor balance.
- 1/4 cup butter (melted) – Gives rich flavor and softness.
- 1/2 cup milk – Keeps cake moist and soft.
- 1 egg – Helps bind and add structure.
- 1 tsp baking powder – Helps cakes rise nicely.
- 1 tsp vanilla extract – Adds warm sweet aroma.
- 6 pineapple slices (cut small) – Main fruity topping.
- 1/4 cup brown sugar – For caramel layer.
- 2 tbsp butter (for topping) – Makes caramel rich and smooth.
- Cherries (optional) – For decoration and color.
Tip: Use canned pineapple if fresh is not available, but drain well.
HOW TO MAKE (STEP-BY-STEP)
1. Prepare caramel base
Start by preheating oven to 180°C (350°F). In a small bowl, mix melted butter and brown sugar until smooth. Spoon this mixture into muffin cups. It should look thick, golden, and slightly sticky. Place a pineapple slice (or half slice) in each cup. Press gently so it sits flat. Add a cherry in the center if you like. This layer will become the top later. Make sure each cup is evenly coated. The smell should already feel sweet and buttery.
2. Make cake batter
In a bowl, whisk egg and sugar until light and creamy. Add milk, melted butter, and vanilla. Mix until smooth and silky. In another bowl, combine flour and baking powder. Slowly mix dry ingredients into wet mixture. Stir gently until batter is thick but smooth. It should feel soft and creamy, not runny. Do not overmix or cakes will become dense. The batter should look light yellow and smooth.
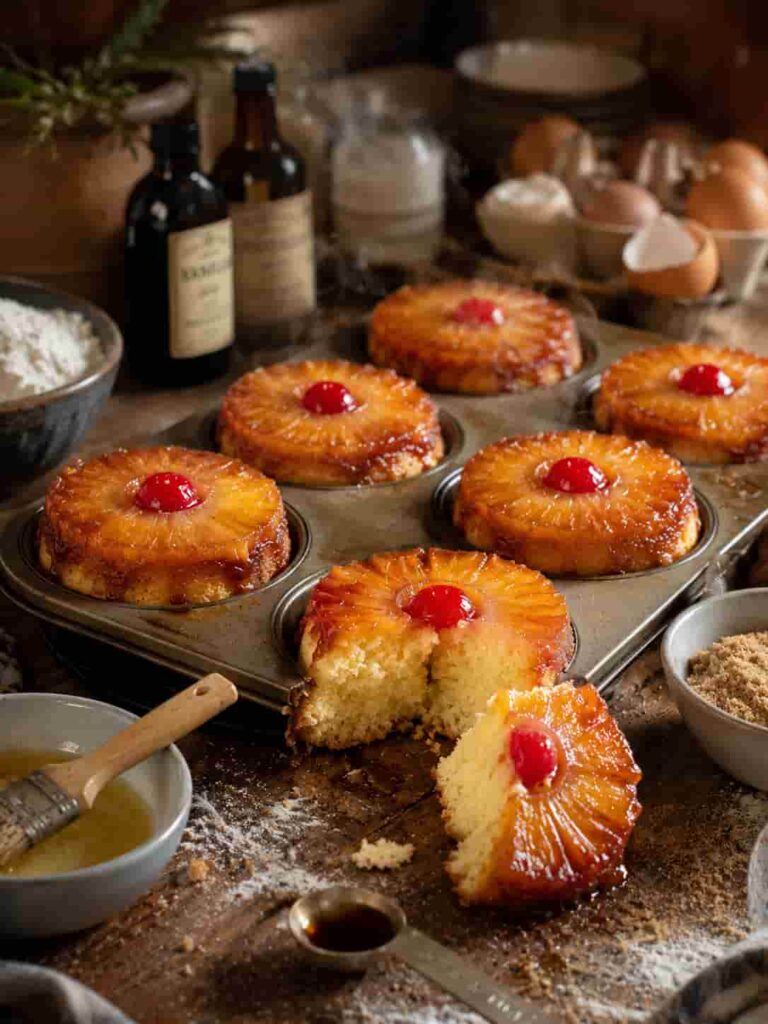
3. Assemble and bake
Pour batter over pineapple layer in each cup. Fill about 3/4 full. Tap tray gently to remove air bubbles. Bake for 20–25 minutes until golden on top. The smell will be sweet and warm. Once baked, let cool for 5–10 minutes. Carefully flip each cake onto a plate. The pineapple should now be on top, shiny and caramelized. Serve warm for best taste.
This small trick makes a huge difference… flipping while slightly warm keeps caramel smooth and glossy.
PRO TIPS
- Always grease muffin tray well to avoid sticking
- Use brown sugar for richer caramel flavor
- Do not overmix batter for soft texture
- Flip cakes while slightly warm for clean release
- Use equal pineapple sizes for even baking
- Add cherries for color and flavor contrast
- Check oven early to avoid overbaking
- Let caramel settle before flipping
- Use room temperature ingredients for better mixing
COMMON MISTAKES TO AVOID
Not greasing pan causes sticking and breaking. Overmixing batter makes cakes dense. Using too much sugar burns caramel. Skipping brown sugar reduces flavor. Overbaking dries cakes. Flipping too early breaks structure. Not draining pineapple adds extra water. Uneven batter causes uneven baking. Cold ingredients affect texture. Not preheating oven stops proper rise. Using large pineapple pieces makes topping messy. Skipping resting time ruins shape.
VARIATIONS / CUSTOMIZATION IDEAS
Now let’s make it even better…
- High protein version – Add protein powder to batter
- Vegan version – Use plant milk and flax egg
- Quick version – Use cake mix instead of homemade batter
- Coconut twist – Add shredded coconut to batter
- Extra fruity – Mix mango or peach with pineapple
SERVING IDEAS
Serve warm with vanilla ice cream.
Pair with tea or coffee.
Add whipped cream for extra richness.
Great for parties or small gatherings.
STORAGE & REHEATING
Store in airtight container for 2–3 days.
Keep in fridge for longer freshness.
Reheat in microwave for 10–15 seconds.
Best enjoyed warm for soft texture.
NUTRITION FACTS
- Calories: 210 per mini cake
- Carbs: 30g
- Fat: 9g
- Protein: 3g
QUICK SUMMARY
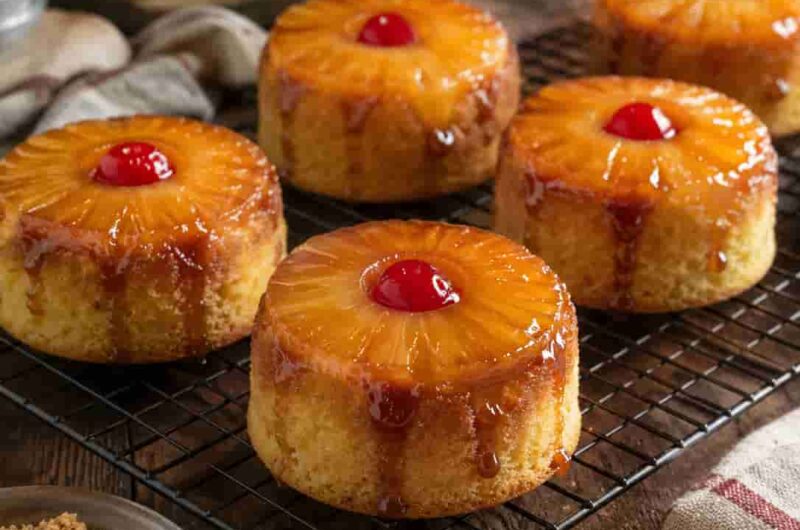
- Cute individual pineapple upside down cakes
- Soft cake with caramel fruit topping
- Easy ingredients and simple steps
- Perfect for serving guests or snacks
WHEN TO EAT THIS
Perfect for busy mornings with tea.
Great for afternoon sweet cravings.
Ideal after dinner as a light dessert.
And honestly… perfect for late-night treats too.
Each bite feels soft, sweet, and comforting.
Individual Mini Pineapple Upside Down Cakes (So Cute & Caramelized!)
Course: Cakes4
servings30
minutes40
minutes300
kcalIngredients
1 cup all-purpose flour – Creates soft cake texture. Sift for better results.
1/2 cup sugar – Adds sweetness and helps caramel flavor balance.
1/4 cup butter (melted) – Gives rich flavor and softness.
1/2 cup milk – Keeps cake moist and soft.
1 egg – Helps bind and add structure.
1 tsp baking powder – Helps cakes rise nicely.
1 tsp vanilla extract – Adds warm sweet aroma.
6 pineapple slices (cut small) – Main fruity topping.
1/4 cup brown sugar – For caramel layer.
2 tbsp butter (for topping) – Makes caramel rich and smooth.
Cherries (optional) – For decoration and color.
Directions
- Prepare caramel base
Start by preheating oven to 180°C (350°F). In a small bowl, mix melted butter and brown sugar until smooth. Spoon this mixture into muffin cups. It should look thick, golden, and slightly sticky. Place a pineapple slice (or half slice) in each cup. Press gently so it sits flat. Add a cherry in the center if you like. This layer will become the top later. Make sure each cup is evenly coated. The smell should already feel sweet and buttery. - Make cake batter
In a bowl, whisk egg and sugar until light and creamy. Add milk, melted butter, and vanilla. Mix until smooth and silky. In another bowl, combine flour and baking powder. Slowly mix dry ingredients into wet mixture. Stir gently until batter is thick but smooth. It should feel soft and creamy, not runny. Do not overmix or cakes will become dense. The batter should look light yellow and smooth. - Assemble and bake
Pour batter over pineapple layer in each cup. Fill about 3/4 full. Tap tray gently to remove air bubbles. Bake for 20–25 minutes until golden on top. The smell will be sweet and warm. Once baked, let cool for 5–10 minutes. Carefully flip each cake onto a plate. The pineapple should now be on top, shiny and caramelized. Serve warm for best taste.
Notes
- Always grease muffin tray well to avoid sticking
- Use brown sugar for richer caramel flavor