You’ve seen those rich Dubai chocolate bars everywhere…
Thick chocolate, creamy filling, and that perfect crunch.
But when you try to buy them, they are expensive or hard to find.
And making them at home feels complicated, right?
Here’s the good news… it’s actually much easier than you think.
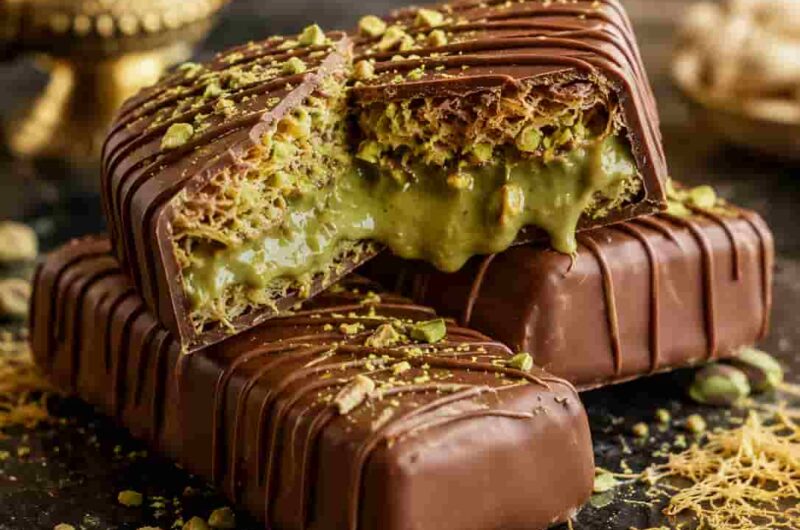
These homemade Dubai chocolate bars give you that same luxury taste.
Smooth, creamy, nutty, and perfectly sweet.
And yes… you can make them in your own kitchen without stress.
WHAT IS THIS RECIPE?
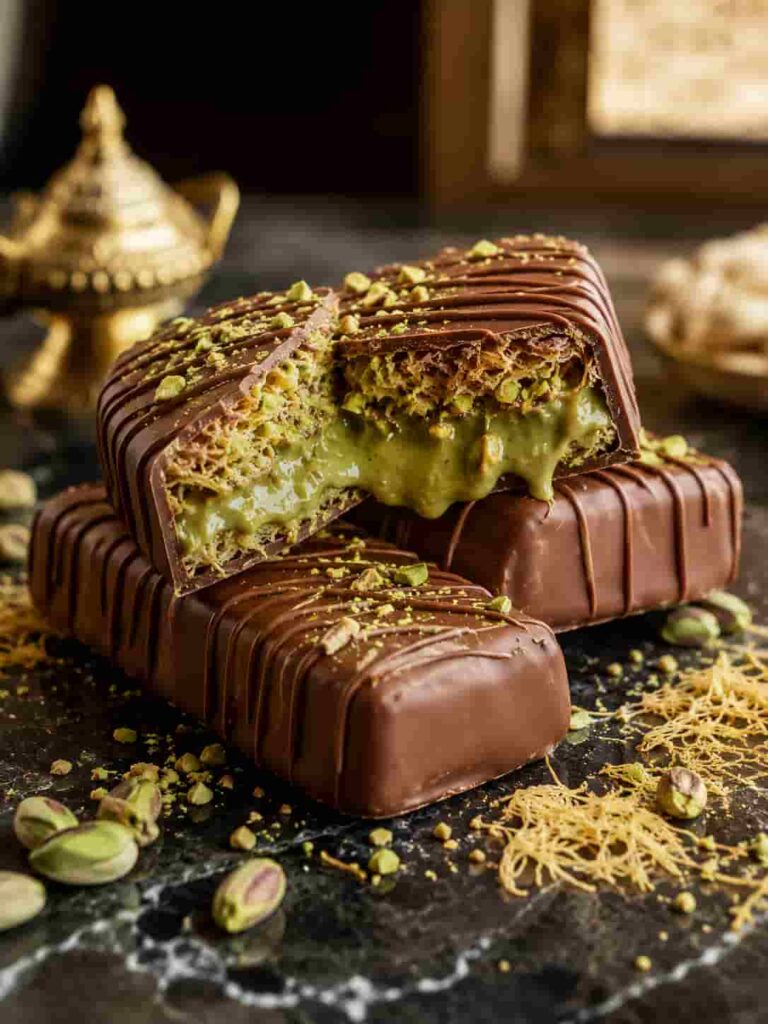
This recipe is a homemade version of the famous Dubai chocolate bars.
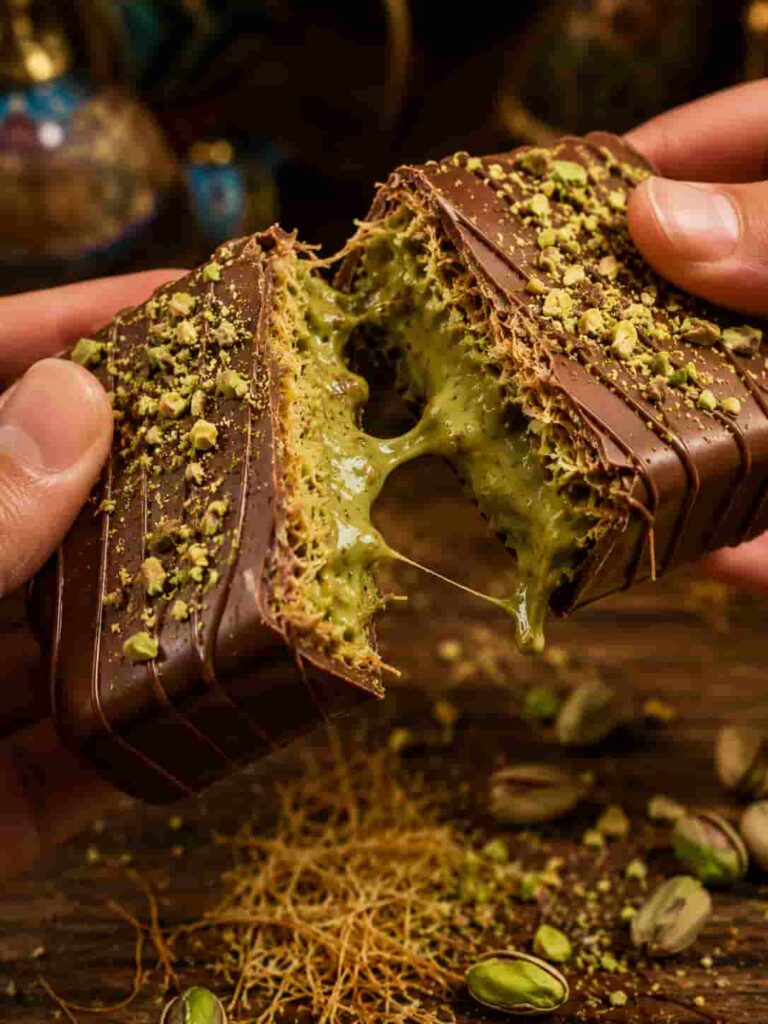
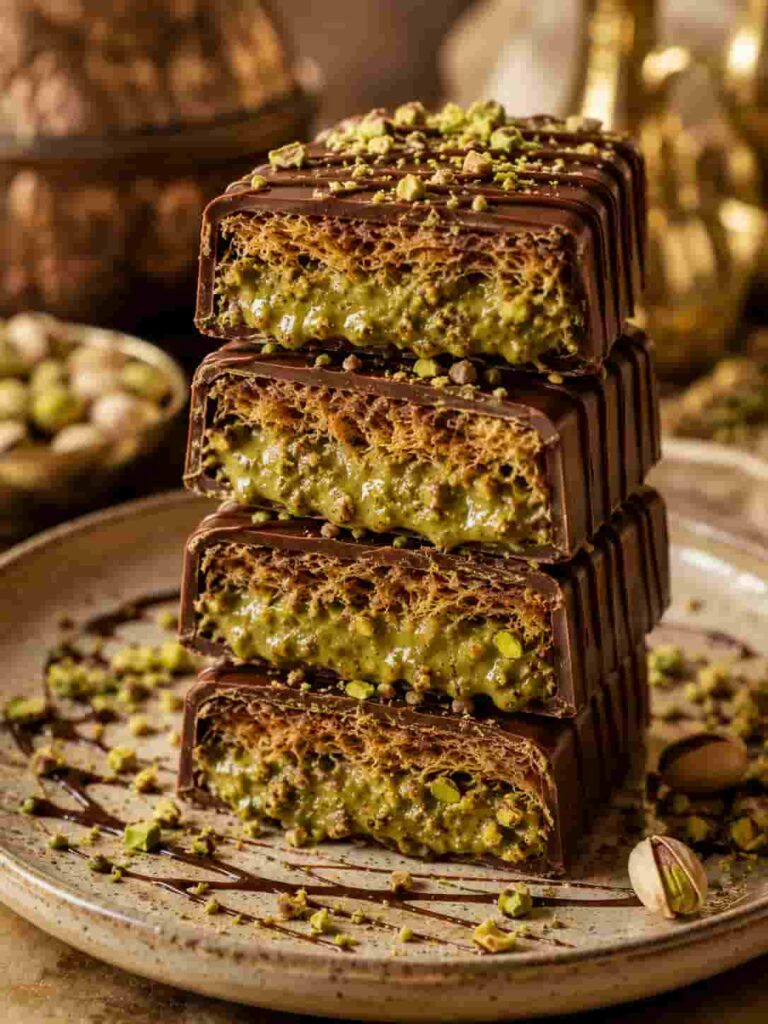
It has a thick chocolate shell filled with creamy pistachio goodness.
Sometimes, it also includes a light crunchy layer for texture.
Each bite is rich, smooth, and slightly nutty.
It feels premium and special, but it’s very simple to make.
WHY YOU WILL LOVE THIS RECIPE
- Much cheaper than buying expensive chocolate bars
- Easy steps with no special skills needed
- Rich, creamy, and crunchy texture in every bite
- Uses simple ingredients you can find easily
- Perfect for gifts or special treats
- Customizable to your taste
- Looks premium and impressive
Here’s where most people get this wrong… they rush the chocolate and it doesn’t set properly.
INGREDIENTS
- 2 cups chocolate (milk or dark) – This is the main layer. Use good quality chocolate for smooth melting and better taste.
- 1 cup pistachio spread or paste – Gives that signature creamy filling. You can blend pistachios at home if needed.
- 1/2 cup crushed biscuits or wafers – Adds a light crunch to balance the creamy texture.
- 2 tablespoons butter – Helps make the filling smoother and richer.
- 2 tablespoons powdered sugar – Adds slight sweetness to the pistachio filling.
- 1/4 cup heavy cream – Makes the filling soft, creamy, and easy to spread.
- 1/2 teaspoon vanilla extract – Enhances flavor and adds warmth.
- Pinch of salt – Balances sweetness and brings out the pistachio taste.
Tip: Use silicone molds for easy removal and perfect bar shapes.
HOW TO MAKE (STEP-BY-STEP)
1. Melt the chocolate properly
Start by melting the chocolate using a double boiler or microwave. Heat in short intervals and stir in between. The chocolate should become smooth, glossy, and completely lump-free. Do not overheat, or it may become thick and grainy. Once melted, let it cool slightly. It should still be liquid but not hot. This helps create a smooth outer shell. Take your time here because this step affects the final look and texture. A shiny chocolate layer makes your bars look professional.
2. Prepare the pistachio filling
In a bowl, mix pistachio spread, butter, powdered sugar, and cream. Stir until the mixture becomes soft, creamy, and smooth. Add vanilla and a pinch of salt. Mix again. Now fold in crushed biscuits for a light crunch. The filling should be thick but spreadable. If it feels too thick, add a little more cream. If too soft, chill it for a few minutes. This layer should feel rich, slightly nutty, and creamy.
3. Assemble the chocolate bars
Pour a layer of melted chocolate into molds and spread evenly. Place in fridge for a few minutes to set slightly. Now add the pistachio filling on top. Spread gently but leave space around edges. Pour another layer of chocolate on top to seal. Smooth the surface. Chill for at least 1–2 hours until fully set. Once firm, remove from molds carefully. The bars should look glossy, thick, and filled perfectly.
This small trick makes a huge difference… chilling each layer briefly keeps everything neat and layered.
PRO TIPS
- Always melt chocolate slowly to avoid burning and lumps.
- Use high-quality chocolate for better taste and texture.
- Chill layers between steps for clean results.
- Do not overfill or bars may break.
- Use silicone molds for easy removal.
- Add crushed nuts for extra crunch.
- Keep filling slightly thick for best texture.
- Store in cool place to avoid melting.
- Taste filling before assembling to adjust sweetness.
COMMON MISTAKES TO AVOID
Overheating chocolate makes it thick and unusable. Not chilling layers can mix them together. Using low-quality chocolate affects flavor. Making filling too thin causes leaking. Not sealing edges properly breaks bars. Skipping molds gives uneven shapes. Not measuring ingredients affects balance. Using too much sugar makes it overly sweet. Not letting bars set fully ruins texture. Storing in warm place melts chocolate. Rushing steps reduces quality. Ignoring salt removes flavor balance.
VARIATIONS / CUSTOMIZATION IDEAS
Now let’s make it even better…
- High protein version – Add protein powder to pistachio filling.
- Vegan version – Use dairy-free chocolate and coconut cream.
- Quick version – Use ready pistachio spread only.
- Nut mix – Add almonds or hazelnuts for extra crunch.
- White chocolate version – Replace dark chocolate for sweeter taste.
SERVING IDEAS
Serve chilled for best texture.
Enjoy with coffee or tea.
Gift them in small boxes.
Perfect for special occasions.
STORAGE & REHEATING
Store in fridge for up to 1 week.
Keep in airtight container to stay fresh.
Do not reheat—serve chilled or slightly soft.
NUTRITION FACTS (Approximate)
- Calories: 260 per bar
- Carbs: 25g
- Fat: 16g
- Protein: 4g
QUICK SUMMARY
- Easy homemade luxury chocolate bars
- Creamy pistachio filling with crunch
- Simple ingredients and steps
- Perfect for gifts or treats
WHEN TO EAT THIS
Perfect for sweet cravings anytime.
Great as a post-meal dessert.
Ideal for gifting or celebrations.
And honestly… perfect for late-night chocolate cravings.
One bite feels rich, creamy, and unforgettable.
Homemade Dubai Chocolate Bars with Pistachio (Luxury Taste at Home!)
Course: bars4
servings30
minutes40
minutes300
kcalIngredients
2 cups chocolate (milk or dark) – This is the main layer. Use good quality chocolate for smooth melting and better taste.
1 cup pistachio spread or paste – Gives that signature creamy filling. You can blend pistachios at home if needed.
1/2 cup crushed biscuits or wafers – Adds a light crunch to balance the creamy texture.
2 tablespoons butter – Helps make the filling smoother and richer.
2 tablespoons powdered sugar – Adds slight sweetness to the pistachio filling.
1/4 cup heavy cream – Makes the filling soft, creamy, and easy to spread.
1/2 teaspoon vanilla extract – Enhances flavor and adds warmth.
Pinch of salt – Balances sweetness and brings out the pistachio taste.
Directions
- Melt the chocolate properly
Start by melting the chocolate using a double boiler or microwave. Heat in short intervals and stir in between. The chocolate should become smooth, glossy, and completely lump-free. Do not overheat, or it may become thick and grainy. Once melted, let it cool slightly. It should still be liquid but not hot. This helps create a smooth outer shell. Take your time here because this step affects the final look and texture. A shiny chocolate layer makes your bars look professional. - . Prepare the pistachio filling
In a bowl, mix pistachio spread, butter, powdered sugar, and cream. Stir until the mixture becomes soft, creamy, and smooth. Add vanilla and a pinch of salt. Mix again. Now fold in crushed biscuits for a light crunch. The filling should be thick but spreadable. If it feels too thick, add a little more cream. If too soft, chill it for a few minutes. This layer should feel rich, slightly nutty, and creamy. - Assemble the chocolate bars
Pour a layer of melted chocolate into molds and spread evenly. Place in fridge for a few minutes to set slightly. Now add the pistachio filling on top. Spread gently but leave space around edges. Pour another layer of chocolate on top to seal. Smooth the surface. Chill for at least 1–2 hours until fully set. Once firm, remove from molds carefully. The bars should look glossy, thick, and filled perfectly.
Notes
- Use high-quality chocolate for better taste and texture.
- Do not overfill or bars may break.